


Yes, most metal-chain chandeliers can be shortened safely by removing links and re-routing the wiring, as long as you cut power at the breaker first and leave enough wire slack. Chain chandelier shortening is a weekend job for a patient DIYer with two pairs of pliers. Welded links, heavy fixtures, or glass bead chains change the math, and that’s when a licensed electrician earns their fee.
TL;DR:
- Most metal chain chandeliers can be shortened safely by removing links and adjusting wiring if power is turned off and enough slack is maintained.
- Use two pairs of pliers or dedicated chain pliers to open links sideways without deforming the metal, and support the fixture securely during the process.
- Heavy fixtures, welded links, or glass bead chains require cutting with bolt cutters or disconnecting at connectors, often needing professional help for safety.
- Always verify power is off with a voltage tester before touching wires, and leave 6 to 12 inches of slack in the wire to prevent strain and potential fire hazards.
- Store removed links and excess wire in a labeled bag for future adjustments, matching hardware finish and rating to ensure safe, aesthetically consistent repairs.
Table of Contents
- What Tools Do You Need Before Shortening a Chandelier Chain?
- How Do You Shorten and Reinstall a Chandelier Chain?
- What About Welded Chains, Heavy Fixtures, or Glass Bead Chandeliers?
- When Should You Call a Licensed Electrician Instead?
- Quick Reference: Chandelier Chain Length and Slack Checklist
- What Matters Most When You’re Buying Replacement Parts
- Our Take: Why the Basic Chain Method Gets Oversimplified
- Where to Find Replacement Chain, Quick-Links, and Tools
- Sources
- FAQ
What Tools Do You Need Before Shortening a Chandelier Chain?
Gather your tools and confirm the power is off before you touch a single link. Skipping this order is how people get hurt.
Start with the safety sequence: flip the breaker for that circuit, then confirm with a non-contact voltage tester that no current is flowing to the fixture. Don’t trust the wall switch alone. Set up a sturdy ladder, bring a helper if the fixture is heavy, and lay down a cloth or drop sheet to catch small parts and protect your flooring.
You’ll want:
- Two pairs of pliers, or dedicated chain pliers, to open and close links without twisting the metal
- Wire cutters and strippers for trimming the electrical lead
- A screwdriver set for the canopy screws and wire nuts
- A non-contact voltage tester
- A ladder rated for your height plus reach, and a helper for anything over a few pounds
- Soft cloth or painter’s tape to wrap plier jaws so they don’t scratch the finish
Pro Tip: Chain pliers cost less than a service call and make cleaner cuts than standard pliers. If you shorten fixtures more than once in your home, they pay for themselves fast.
Measuring comes next. Over a dining table, aim for the bottom of the fixture to sit approximately 30 inches above the tabletop, a range confirmed in Montreal Lighting & Hardware’s chandelier height guide. In open areas like entryways or stairwells, keep clearance from the floor to the bottom of the fixture suitable for walking under without obstruction. Measure your current drop, subtract the target drop, then divide by the length of one link to know how many links to remove. Round down if the math lands between links, since removing one too many is harder to fix than one too few.
Before you loosen anything at the ceiling, support the fixture on a ladder platform, a padded stepstool, or with a helper’s hands. Never let the electrical wire bear the fixture’s weight, even for a few seconds.
How Do You Shorten and Reinstall a Chandelier Chain?
Work through this sequence in order, and don’t skip the power check even if you’re confident the switch is off.
-
Kill the power and verify it. Flip the breaker, then touch your voltage tester to the wires at the fixture box. If it reads any voltage, stop and recheck the breaker panel.
-
Support the fixture. Have your helper hold the chandelier’s weight, or rest it on a padded ladder platform, before you touch the canopy screws. This step prevents the wiring from taking a sudden strain when the canopy comes loose.
-
Lower the canopy. Loosen the mounting screws and slide the canopy down the chain to expose the wire connections inside the ceiling box.
-
Disconnect and label the wires. Note which wire is which (typically black to black, white to white, and a bare or green ground wire to the box’s ground). A strip of masking tape with a quick note saves confusion later.
-
Rest the fixture on a protected surface, or keep your helper supporting it, while you work on the chain itself.
-
Mark your target link. Using the math from your measurements, count up from the canopy and mark the link where the new, shorter chain will end.
-
Open the links with two pliers, or dedicated chain pliers. Grip the link on either side of the opening and twist sideways, not outward, to avoid deforming the metal. Wrapping the plier jaws in cloth protects brass, bronze, and painted finishes from tool marks.
-
Remove the excess links and set them aside. Close the final remaining link firmly enough that it won’t pull open under the fixture’s weight, but don’t crush it flat.
-
Shorten the electrical wire, but leave slack. Cut the wire to match your new chain length, then leave an extra amount of wire slack beyond the shortened chain to ensure the fixture weight is borne by the chain, not the wiring. (https://www.engineerskill.blog/shorten-chandelier-chain-adjust-wiring) This is the single detail that separates a safe job from a fire hazard waiting to happen. Weave the slack wire loosely through the remaining chain links so it hangs naturally alongside the metal rather than pulling straight.
-
Reattach the chain to the ceiling loop at the new top link, then make your wire connections with wire nuts, matching the labels from step 4. Secure the ground wire to the box first.
-
Tuck the wiring into the box without overcrowding it. Stuffing excess wire into a junction box that’s already full of connections is a known fire risk, not just a tidiness issue. If the box feels packed, you likely left too much slack; trim back a little rather than forcing the canopy shut.
-
Slide the canopy up and secure it against the ceiling with its mounting screws.
-
Restore power at the breaker and test the fixture. Flip the switch, check that all bulbs light evenly, and look for any flicker that might suggest a loose connection.
-
Check stability and height. Give the chandelier a gentle nudge to confirm it hangs steady with no sway from a loose link, and measure the final drop to confirm it matches your target.
The principle running through every one of these steps is what electricians call a tension-free lead. The metal chain, not the copper wire inside it, should be the part actually holding the fixture’s weight. Every measurement, every inch of slack, and every closed link exists to keep that principle intact.
What About Welded Chains, Heavy Fixtures, or Glass Bead Chandeliers?
Not every chandelier chain opens with a pair of pliers, and forcing one that shouldn’t be forced is how fixtures get damaged or dropped.
- Welded or unusually thick links won’t open by hand. Cut through them with bolt cutters, then rejoin the chain using a quick-link rated above your fixture’s weight. File any sharp edges smooth and touch up the cut ends to match the finish.
- Glass or crystal bead chains should never be cut through a bead. Disconnect at the metal connector points between beaded sections instead, or order a custom-length replacement chain from the fixture’s manufacturer if no connector lines up where you need one.
- Heavy fixtures, generally anything beyond what one person can comfortably hold overhead, call for two-person support at minimum, and possibly a mechanical lift. Check whether your ceiling anchor and mounting hardware are rated for the fixture’s weight before reinstalling.
- Nonpermanent options exist if you’re not ready to commit to cutting. Looping the excess chain above the canopy, or connecting a shorter run with quick-links and S-hooks, gets you the same visual height change without touching the original chain length. This approach also works well if you’re testing a height before finalizing it, similar to how you’d swag a chandelier for a temporary repositioning.
When Should You Call a Licensed Electrician Instead?
Some situations are worth the service call, especially when the fixture, the wiring, or the ceiling box shows signs that go beyond a simple chain adjustment.
- The fixture is heavy enough that you’re unsure your ceiling box or anchor can support it after remounting.
- The wiring inside the box looks old, brittle, discolored, or shows any sign of past overheating.
- There’s no visible ground wire, or the ground connection looks improvised.
- The chain links are welded and you’re not comfortable with bolt cutters and a rated quick-link.
- The ceiling mount itself is cracked, loose, or shows water staining around the box.
When you call, describe the fixture’s approximate weight, the mounting type (ceiling box, medallion, beam), and anything unusual you noticed about the wiring. That detail helps the electrician arrive with the right tools and rated hardware instead of making a second trip. Some municipalities also require permits or inspections for fixture work tied to renovations, so it’s worth a quick call to your local building department if the job is part of a larger remodel.
Quick Reference: Chandelier Chain Length and Slack Checklist
Keep this nearby while you work so you’re not re-measuring twice.
| Item | Recommended Value |
|---|---|
| Dining table clearance | 30 inches above tabletop |
| General room clearance | At least 7 feet from floor to fixture bottom |
| Wire slack beyond chain | 6 to 12 inches |
| Junction box wiring | Neat and tucked, never overstuffed |
| Tools on hand | Two pliers, wire cutters/strippers, screwdriver, voltage tester, ladder |
| Save after the job | Removed links, leftover wire, fixture model number |
Hold onto the links and wire you remove. If you ever want to restore the original length, or need a matching link for a repair, having the exact hardware on hand beats hunting for a replacement later. Snap a photo of the fixture’s model tag before you start, too, since matching replacement parts is far easier with a model number in hand.
What Matters Most When You’re Buying Replacement Parts
Getting the mechanics right only helps if the hardware itself is up to the job. A quick-link that’s rated below your fixture’s weight defeats the purpose of doing this carefully in the first place, and a mismatched finish will stick out every time you look up at the ceiling.
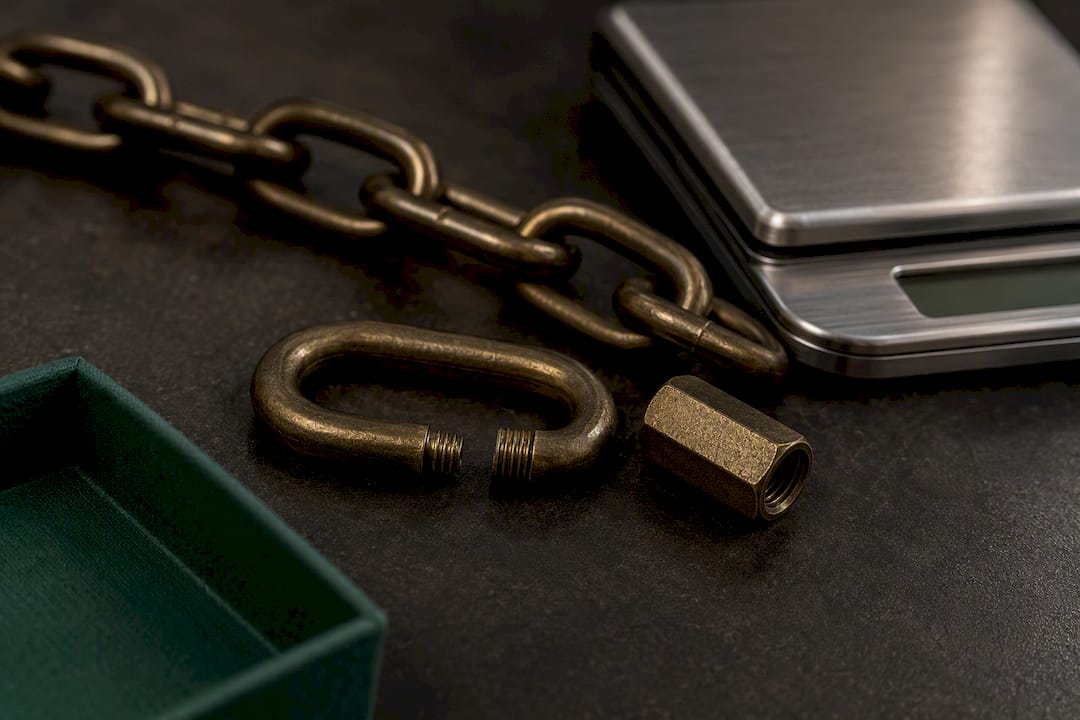
Match the finish of any new chain or connector to your existing fixture, not just visually in the store but under the same kind of light it’ll actually hang in. Bronze reads differently under warm bulbs than it does under a showroom LED. For load-rated hardware, size the quick-link or connector to exceed your fixture’s actual weight, not just its apparent bulk. And once the work is done, label the removed links, bag them with a note on the fixture model, and keep that bag somewhere you’ll actually find it again. Future you, tackling the next height adjustment, will be glad the old chain guide is still around too.
Our Take: Why the Basic Chain Method Gets Oversimplified
Most guides to shortening a chandelier chain treat it as a five-minute pliers job, and that’s where a lot of DIY confidence gets misplaced. The mechanics of opening a link aren’t the hard part. The part people skip is verifying power is actually dead, not just switched off, and the part they underestimate is how much slack the wire needs to avoid strain over years of thermal expansion and contraction.
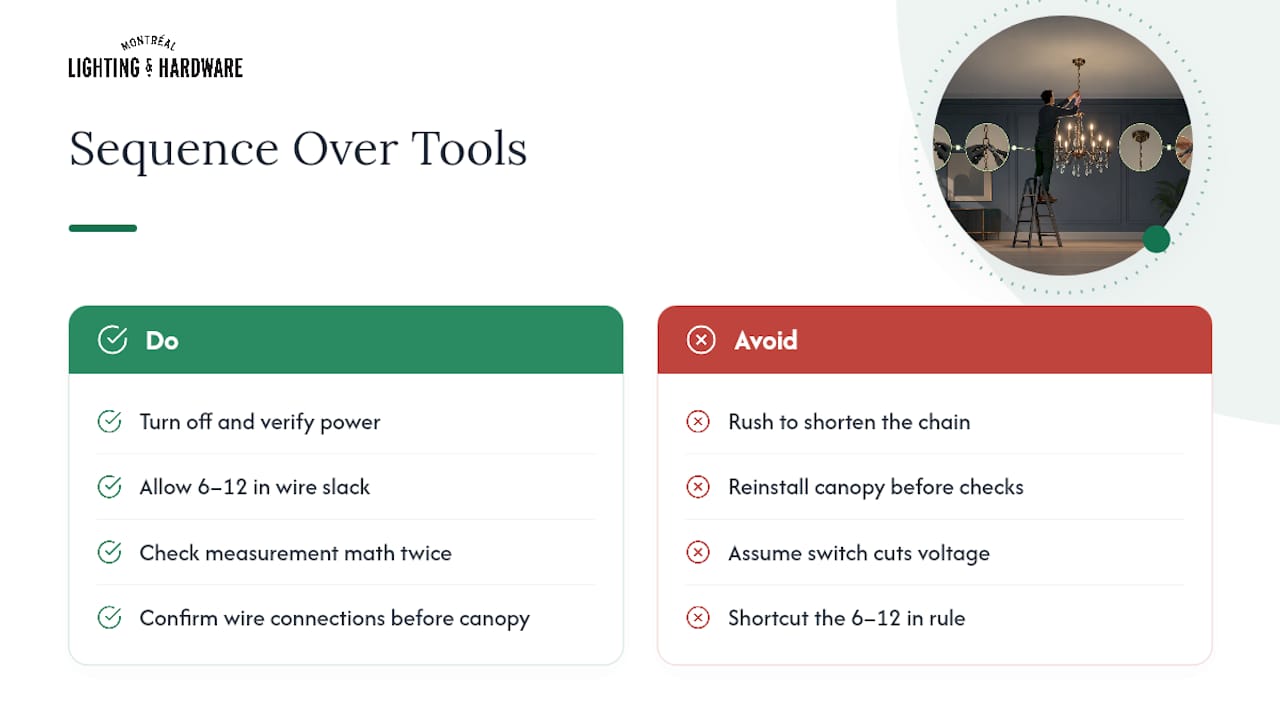
We’d push back on the idea that this is purely a tool problem. It’s a sequencing problem. Rushing to the chain before confirming voltage, or reinstalling the canopy before double checking wire connections, is how a fine afternoon project turns into a callback repair. The reader who benefits most from this guide isn’t the one with the fanciest pliers. It’s the one who reads the measurement math twice, respects the 6 to 12 inch slack rule without shortcutting it, and knows the difference between a chain that just needs shortening and a fixture that genuinely needs a professional’s hands.
If there’s one thing conventional advice underplays, it’s this: a chandelier that looks perfectly fine hanging can still have wiring under quiet stress that only shows up years later as flickering or, worse, a scorched wire nut. Do the slack right the first time, and you won’t think about this chain again for a decade.
— Montreal Lighting & Hardware
Where to Find Replacement Chain, Quick-Links, and Tools
Once you know exactly how many links you’re removing and what your fixture weighs, the right hardware makes the rest of the job painless. Montreal Lighting & Hardware carries replacement chain in multiple finishes, load-rated quick-links, chain pliers, and non-contact voltage testers, so you’re not stuck matching a mismatched connector from a hardware store bin.

When you’re shopping, match finish first, then weight rating. A quick-link should always exceed your fixture’s actual weight, never just meet it, and a canopy swap is worth considering if your original one shows wear after handling. If you’re working with a pendant instead of a full chandelier, similar principles apply. Browse fixtures like the Sonneman Grapes LED Pendant or the Sonneman Tela LED Pendant if you’re weighing a full replacement instead of a chain modification. For everything else, from chain to canopies to testers, start at the Montreal Lighting & Hardware store and search by fixture type to find parts that match what’s already hanging in your home.
Sources
The step-by-step guidance in this article draws on established how-to and safety resources for fixture modification, including:
- How To Shorten The Chain On A Chandelier | Hunker
- Engineerskill
- How To Shorten A Chandelier Chain: Step-by-Step - SIGA Glass
- How to Shorten Chandelier Chain: Essential Guide
- 3 Ways to Shorten Light Fixtures for Low Ceilings | Pretty Handy Girl
If your chandelier came with manufacturer-specific installation instructions, check those first. One-off or imported fixtures sometimes use connector types that don’t match the standard chain link found in most North American hardware.
FAQ
Can You Shorten the Chain on a Chandelier?
Yes, most metal chain chandeliers can be shortened by removing links and adjusting the wiring, as long as power is off and the wire keeps 6 to 12 inches of slack. Welded links, heavy fixtures, or glass bead chains need a different approach or a licensed electrician.
How Do You Remove Links From a Chandelier Chain?
Open the link sideways using two pairs of pliers, or dedicated chain pliers, wrapping the jaws in cloth to protect the finish. Remove the number of links matching your measured height difference, then close the final link firmly.
How Do You Make a Chandelier Chain Longer?
Add matching links back onto the chain using the same twist-open, twist-closed technique, sourcing links in the same gauge and finish as the original. If you removed and saved your original links, reattaching them restores the exact original length.
What Should You Do With Excess Chandelier Chain?
Store removed links and wire in a labeled bag along with your fixture’s model number, since you may need them for future height changes or repairs. If you’re certain you’ll never reuse them, dispose of the metal through your local scrap metal or recycling program rather than the regular trash.
