


Yes, you can safely swag a chandelier when the fixture is a reasonable weight and your ceiling can hold a properly rated anchor. Heavy fixtures or an unstable junction box may mean moving the electrical box or calling a licensed electrician instead. Before you touch a tool, find your fixture’s weight rating and cut the breaker.
Key Takeaways
Swagging a chandelier is safe and effective when the anchor is rated at least 1.5 times the fixture’s weight and installed into a joist whenever the fixture exceeds roughly 25 to 30 pounds.
| Point | Details |
|---|---|
| Confirm weight before drilling | Check the fixture’s listed weight and cut breaker power before any measuring or drilling begins. |
| Match anchor to load | Choose hardware rated at least 1.5 times the fixture’s weight, favoring joist mounts for heavier pieces. |
| Set height by rule of thumb | Hang the fixture 30 to 36 inches above a dining table, or keep 7 feet of floor clearance elsewhere. |
| Leave wiring slack | Avoid tensioned cord inside the junction box, which stresses connections over time. |
| Source rated parts locally | Montreal Lighting & Hardware stocks swag hooks, toggle bolts, and matching chain for a finished look. |
Table of Contents
- How Do You Swag a Chandelier?
- What Tools and Materials Do You Need?
- What Are the Steps to Swag a Chandelier?
- How Much Weight Can a Swag Hook Hold?
- How Do You Make a Swagged Chandelier Look Intentional?
- What Mistakes Do People Make When Swagging a Light?
- Frequently Asked Questions
- Sources
How Do You Swag a Chandelier?
Swagging means installing a hook at a new ceiling point and draping the fixture’s chain or cord from your original junction box over to that spot, so the wiring stays put while the light moves. It’s the standard trick for centering a chandelier over a dining table or moving a pendant away from an off-center box without hiring anyone to rewire the ceiling.
You’ll see the term “swag a light fixture” used interchangeably with “chandelier swagging,” and both describe the same technique. The junction box never moves. The hook does the work, and the cord or chain travels along a gentle path to reach it, which is why this remains one of the most popular DIY chandelier swag projects for anyone stuck with a poorly placed box.
What Tools and Materials Do You Need?
A swag installation goes faster and safer with the right hardware already in hand. Skip a trip back to the store mid-project by gathering everything first.
- Drill with masonry and wood bits sized to your chosen anchor
- Stud finder to locate a ceiling joist before you commit to a spot
- Tape measure and a plumb bob or laser level for accurate placement
- Sturdy ladder rated for your height and weight, plus a helper to hold it
- Pliers and a screwdriver set for the canopy and wiring connections
- Safety glasses for ceiling dust and drywall debris
- Swag hook rated for your fixture’s weight, whether that’s a wood screw hook for a joist or a heavy-duty toggle bolt for open drywall
- Extra chain or cord if the fixture needs to travel further than its factory-length wiring allows
Before drilling anything, turn off the breaker feeding that circuit, confirm your fixture’s listed weight, and test the switch to make sure the power is actually dead.
What Are the Steps to Swag a Chandelier?
Work through these steps in order. Skipping ahead is how people end up with a wobbling hook or a scorched wire nut.
- Kill the power at the breaker, then flip the switch and test with a non-contact voltage tester before touching any wiring.
- Remove the canopy covering your existing junction box and check how much cord or chain the fixture came with.
- Measure your target spot. Center it over the dining table or the focal point you want, then use a plumb bob or laser level to transfer that exact point straight up to the ceiling.
- Find the framing. Run a stud finder across the marked area to locate a joist. Swagging a chandelier works by draping the cord from the original box to this new hook point, so the box itself never has to move.
- Drill a pilot hole sized to your anchor, whether that’s a direct joist screw or a toggle bolt sleeve.
- Install the hook. Drive a wood screw hook flush into the joist, or thread a toggle bolt through drywall until the wings expand fully behind the surface.
- Hang the chain, weaving the cord through the links as you go, and let it fall into a soft, relaxed curve rather than a straight line.
- Set the finished height: 30 to 36 inches above a dining table, or a 7 foot clearance from the floor in a hallway or entry.
- Reattach the canopy, restore breaker power, and flip the switch to confirm the fixture lights up.
- Inspect the hook under load. Give the chain a gentle tug and watch for any wobble, drywall stress, or shifting at the anchor point.
Pro Tip: Do the pull test before you fully seat the canopy back on the original box. If the hook flexes even slightly, you want easy access to swap it out, not a finished ceiling you have to reopen.
How Much Weight Can a Swag Hook Hold?
The anchor you choose depends entirely on what’s above your ceiling drywall and how much your fixture weighs. Get this step wrong and everything else you did right stops mattering.
- Joist-mounted wood screw hooks are the strongest option and the right call for any fixture heavier than a moderate weight threshold requiring joist mounting.
- Heavy-duty metal toggle bolts work well for moderate weights when a stud finder comes up empty and no joist sits within reach.
- Match the anchor rating to the load with margin. A hook screwed directly into a joist is the strongest mount available, and toggle bolts sized correctly for the fixture are the right fallback for open drywall.
- Plaster and concrete ceilings behave differently than standard drywall and often call for a different anchor style entirely, so check with a hardware specialist or licensed pro before drilling into either.
A dependable rule of thumb: choose an anchor rated at least 1.5 times your fixture’s actual weight. That margin covers movement, seasonal humidity shifts in drywall, and the occasional bump from cleaning. After installation, do a firm pull test and look closely for hairline cracks radiating from the anchor. Any wobble at all means it’s time to reassess before you hang the full fixture.
How Do You Make a Swagged Chandelier Look Intentional?
A swag installation can look like a deliberate design choice or like an afterthought, and the difference comes down to a handful of small details.
- Keep height consistent: 30 to 36 inches above a dining table, and roughly 7 feet of floor clearance in open living spaces.
- Let the chain relax into a soft arc. A taut, straight line between the box and the hook reads as an accident, not a style.
- Weave the visible cord through the chain links or slide on a fabric cord cover so nothing dangles loose and exposed.
- Match your hardware finish to the fixture, and touch up or cover any toggle bolt heads so they disappear into the ceiling rather than stand out against it.
Pro Tip: Weaving the cord through the chain instead of letting it hang alongside is the single easiest way to make a swagged fixture look custom rather than improvised.
What Mistakes Do People Make When Swagging a Light?
Most swag installs fail for one of a handful of predictable reasons, and every one of them is avoidable with a little patience.
- Undersized anchors. Never mount a fixture on hardware rated at or below its actual weight; always build in a margin.
- Tensioned wiring. Leave slack inside the junction box. A cord pulled tight against its connection point puts constant stress on the wire nuts and can work them loose over time.
- Mismatched hardware finishes. A bright brass hook under a bronze fixture looks unfinished, so plan your chain extension and hook finish together before you buy.
- Ignoring warning signs. If drywall starts to crack or the hook has any give, remove the load immediately, inspect the anchor, and either switch to a joist mount or bring in a professional.
Our Take on Doing This the Right Way
Most swag guides treat this as a five-minute fix, and that’s where a lot of DIYers get into trouble. The technique itself is simple, but the part people rush past, matching anchor strength to actual fixture weight, is exactly where a beautiful new light placement turns into a ceiling repair. We’d rather see you spend an extra ten minutes with a stud finder than discover a wobble six months in.
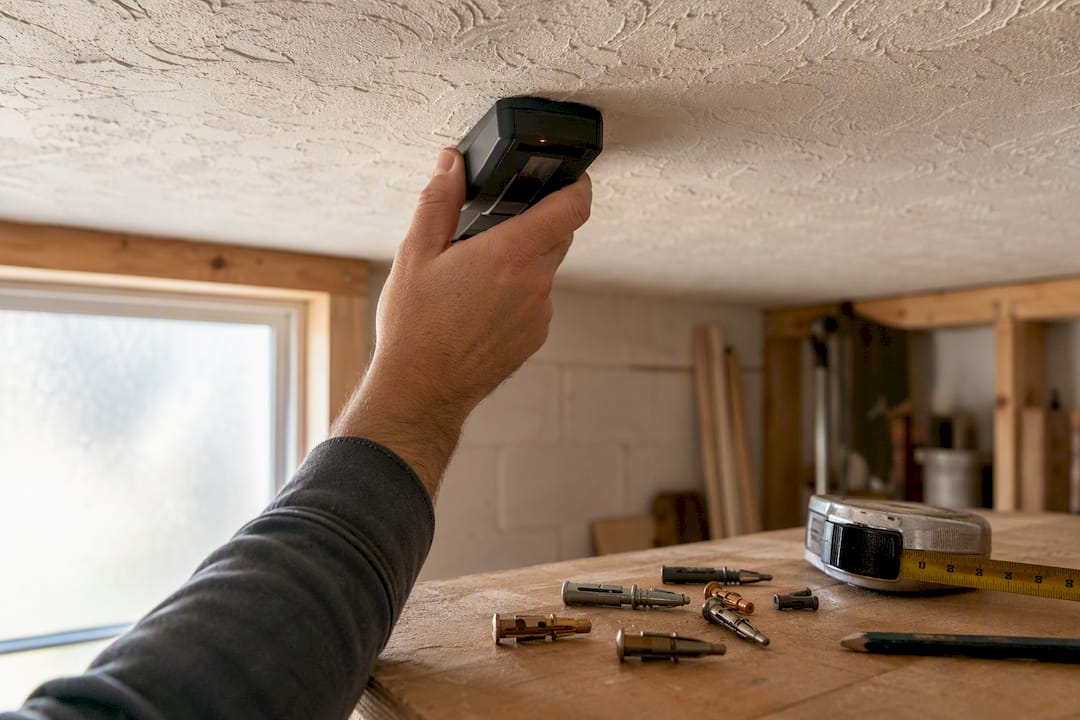
The other thing we notice: people obsess over the drilling and forget the styling. A structurally sound swag that hangs in a straight, taut line still looks like a repair job. The relaxed curve, the woven cord, the matched finish, those are what separate a swag that reads as a design decision from one that reads as an excuse. If your ceiling is anything other than standard drywall, or your fixture is on the heavier side, don’t guess. A licensed electrician or a hardware specialist can settle the question in minutes.

Where to Find the Right Parts for Your Project
A swag installation only goes smoothly when the hardware in your hand actually matches the fixture on your ladder. Montreal Lighting & Hardware carries rated swag hooks, joist screws, heavy-duty toggle bolts, and matching chain and cord covers, so you’re not stuck improvising with whatever the hardware store had in stock.

If you’re still deciding on a fixture, the Hulton Two Light Ceiling Mount and the Hurley Four Light Ceiling Mount are both well-suited to a swagged install over a dining table or entry. For vaulted or angled ceilings that complicate the standard measurements, this guide to adapting installations for sloped surfaces is worth a look before you drill.
Not sure which anchor your ceiling calls for? Tell the team your fixture’s weight and ceiling type, and they’ll point you to the right rated hardware. Browse the full selection at Montreal Lighting & Hardware or start with a specific fixture and build your parts list around it.
Frequently Asked Questions
Can any chandelier be swagged? Most chandeliers can be swagged if their chain or cord is long enough to reach the new hook point and the ceiling can support their weight with a properly rated anchor. Very heavy fixtures or unstable junction boxes sometimes call for moving the box instead.
How far can you swag a chandelier from the junction box? The limit is set by how much extra chain or cord you’re willing to add and how the finished curve looks. A gentle, relaxed arc across several feet reads as intentional; stretching the cord taut to reach a far point does not.
Do I need an electrician to swag a light fixture? Not for a standard installation on drywall with a properly rated anchor. If your ceiling is plaster or concrete, or the fixture is unusually heavy, bring in a licensed electrician or hardware specialist to confirm the anchor and technique.
What height should a swagged chandelier hang over a table? Aim for 30 to 36 inches above the tabletop. In open areas without furniture underneath, keep at least 7 feet of clearance from the floor.
Sources
For step-by-step detail, see Brighthub’s swagging guide and Engineer Skill’s fixture guide. Browse in-stock hardware and chandeliers at Montreal Lighting & Hardware.
- How to Swag Chandelier | 10 Easy Steps (2026)
- Go Ahead: Swag Your Chandelier
- Domino — swag light DIY guidance
Recommended
- Chandelier Size Guide: Formulas for Every Room – Montreal Lighting & Hardware
- The Right Chandelier Height Above Your Dining Table – Montreal Lighting & Hardware
- Channing Three Light Wall Mount | Crystorama – Montreal Lighting & Hardware
- Best Chandeliers in Canada: Top Picks for Every Room – Montreal Lighting & Hardware
