


A lighting schedule is a single, auditable plan that ties fixture tags to electrical loads, control zones, and timed scenes. It answers three questions at once: what fixture goes where, how much power it draws, and when it turns on or dims. Building one starts with three moves: measure the target lux for each room, map your control zones and scene names, and create a simple fixture-schedule row for your first five fixtures.
You don’t need to reinvent any of this from scratch. Canada already has the reference points built in. The NRCan Home Lighting Design Guide sets residential illuminance recommendations. Canada’s Occupational Health and Safety Regulations, Schedule III, sets workplace minimums. And Montreal Lighting & Hardware’s trade desk works with designers and contractors daily on fixture selection and procurement, so the templates in this guide reflect what actually survives contact with a job site.
Here’s what to do before you read another word:
- Measure target lux for each room or task area using the reference table below, so your scene levels are grounded in a number, not a guess.
- Assign control zones and scene names (Morning, Day, Evening, Night, or room-specific equivalents) before you spec a single fixture.
- Draft one fixture-schedule row for your first five fixtures, even in a plain spreadsheet, so you catch load and dimming mismatches early.
The rest of this guide fills in the details: the lux targets, the fixture math, the room-by-room scene examples, a full schedule template with sample rows, and the Canadian codes you’ll want on hand when a building inspector or a client asks where a number came from.
Key Takeaways
A working lighting schedule links measured lux targets, named control zones, and complete fixture data into one document before a single fixture is ordered.
| Point | Details |
|---|---|
| Start with lux measurement | Set target lux per room using NRCan residential ranges before choosing any fixture. |
| Assign control zones early | Name scenes (Morning, Day, Evening, Night) before finalizing dimming hardware. |
| Build the fixture row | Record input watts, CCT, CRI, and dimming protocol for every fixture tag. |
| Use sunrise and sunset offsets | Set exterior and circulation lighting to offsets, not fixed clock times, for seasonal accuracy. |
| Consult Montreal Lighting & Hardware | Use the trade desk to confirm driver compatibility and source fixtures that match your schedule. |
Table of Contents
- Quick-Reference Lux Table for Canadian Homes
- How Lamp Type and Fixture Metrics Shape Your Schedule
- Design Principles and Room-by-Room Lighting Schedule Examples
- Step-by-Step: Building a Fixture Schedule Template
- Controls and Circadian-Friendly Scheduling for Canadian Seasons
- Where Canadian Codes and Regulations Set Lighting Requirements
- Contractor Checklist: Avoiding the Pitfalls That Cause Disputes
- A Trade Perspective on Building Schedules That Actually Hold Up
- Get Trade Support for Your Next Lighting Schedule
- Sources
Quick-Reference Lux Table for Canadian Homes
Illuminance is measured in lux, and the right number depends entirely on what’s happening in the room. A hallway needs enough light to walk safely. A kitchen island needs enough to chop vegetables without squinting. NRCan’s residential guidance and the workplace minimums in Canada’s OHS regulations give you two different but complementary anchors, depending on whether you’re lighting a home or a commercial space.
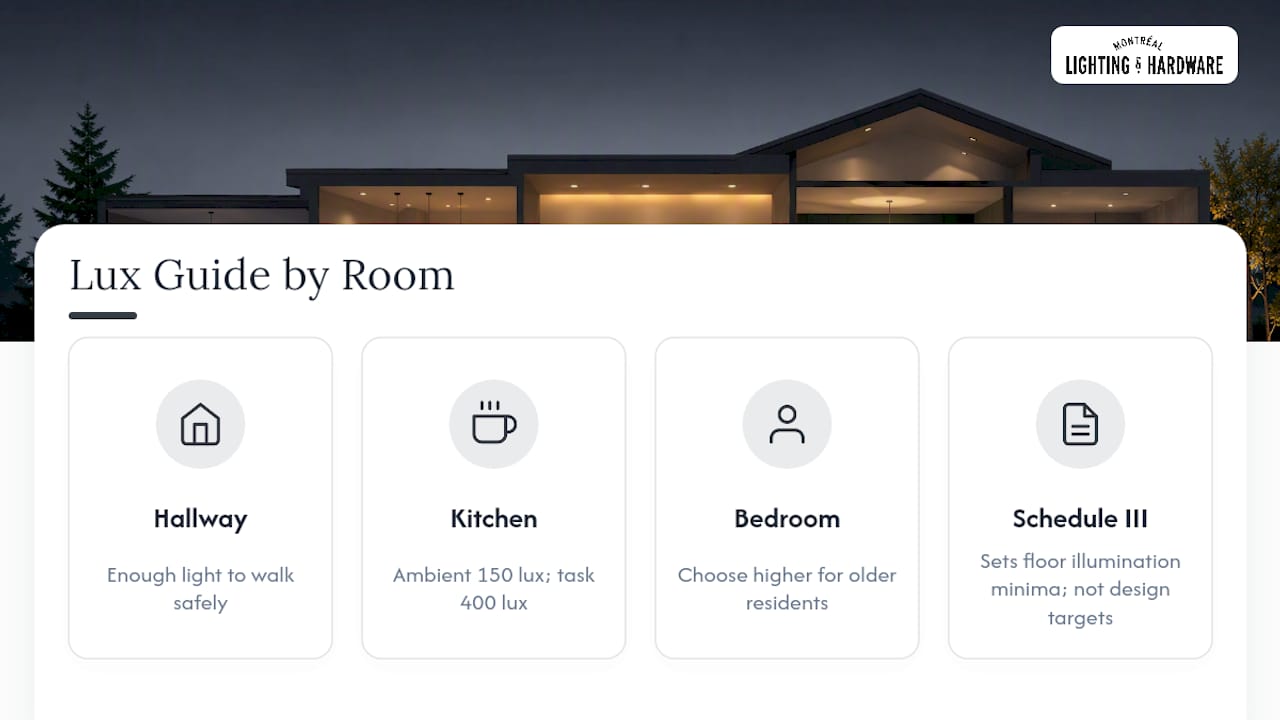
Statistic Callout: Canada’s OHS Schedule III sets minimum illumination levels by task category for federally regulated workplaces. These are floor values for safety and function, not design targets. A residential kitchen aiming for a warm, comfortable feel will often land well above any workplace minimum, and that’s the point.
Two things to keep straight when you’re building scenes from this table. First, task lighting and ambient lighting are not the same column. A kitchen might read 150 lux at ambient level but hit 400 lux directly over the counter where a pendant or undercabinet strip is doing the real work. Second, choose the higher end of a range when the room serves an older household member, when the task involves fine detail (sewing, hobby work, reading small print), or when natural daylight in that room is limited, which describes a lot of north-facing rooms across Canadian winters.
How Lamp Type and Fixture Metrics Shape Your Schedule
Every row in your lighting schedule depends on accurate fixture data, and the metrics you record decide whether the schedule works in the field or falls apart at commissioning. LED has become the default lamp type for nearly all new residential and commercial work in Canada, but “LED” alone tells you almost nothing about how a fixture will behave once it’s wired into a dimmer and a scene controller.
Here’s what belongs on every schedule row, at minimum:
- Input watts (operating point): the actual power draw once the driver and any control gear are accounted for, not the nominal lamp wattage printed on the box.
- Lumen output: total light produced, which combines with room area to hit your lux target.
- Correlated color temperature (CCT): measured in kelvin, this determines whether a fixture reads warm (2700K to 3000K) or cool (4000K and above).
- Color rendering index (CRI): a measure of how accurately a light source renders color, with 90+ CRI generally preferred for kitchens, bathrooms, and closets.
- Dimming protocol: 0 to 10 volt, ELV, TRIAC phase cut, or DALI, since mismatched protocols are the single most common cause of flicker complaints.
- Driver model and power factor notes: relevant for connected-load calculations and for swapping in a compatible replacement later.
Input watts matter more than most homeowners expect, because that’s the number that feeds your connected load and lighting power density (LPD) calculations, not the marketing figure on the lamp packaging. A driver’s own losses add to the circuit draw. Skipping that step is one of the quieter reasons a breaker trips during commissioning that has nothing to do with the fixtures themselves.
As a rough sanity check on vendor specs: a typical LED producing around 800 lumens usually draws somewhere in the 8 to 12 watt range, depending on the fixture’s efficacy. If a spec sheet claims 800 lumens from a 20 watt draw, that’s worth a second look before it goes on your schedule. This is illustrative math for a quick gut check, not a substitute for the manufacturer’s photometric data.
Pro Tip: Before you finalize a dimmer selection, confirm it’s rated for the specific LED driver model on your schedule, not just “LED compatible” in general. Mixing an ELV dimmer with a driver built for 0 to 10 volt control is one of the most common causes of flicker, buzzing, or a dimmer that won’t go below 20 percent, and it’s a callback that’s entirely avoidable at the spec stage.
Design Principles and Room-by-Room Lighting Schedule Examples
Good residential lighting layers three things: ambient light that fills the room, task light aimed at what you’re doing, and accent light that adds depth or highlights a feature. A lighting plan for plants or a general room follows the same logic in miniature, just tuned to the specific need in that space rather than a one-size fixture count.
The other principle worth building into every schedule is a circadian-friendly arc across the day: bright and cool in the morning, steady through the afternoon, warm and dimmed by evening, and near-dark overnight except for low path lighting. Modern residential lighting works best treated as a system synchronized with daylight rather than a set of switches flipped on instinct, and pairing that arc with sunrise and sunset offsets handles Canada’s seasonal daylight swings far better than fixed clock times ever will.
Entry and hallways
Target 50 to 100 lux, CCT around 3000K for a welcoming feel. Scene name: “Arrival.” A single scene that triggers at dusk, tied to a sunset offset rather than a fixed hour, means the entry lights on in November at 4:30 PM and at 9:00 PM in June without you touching a setting.
Living room
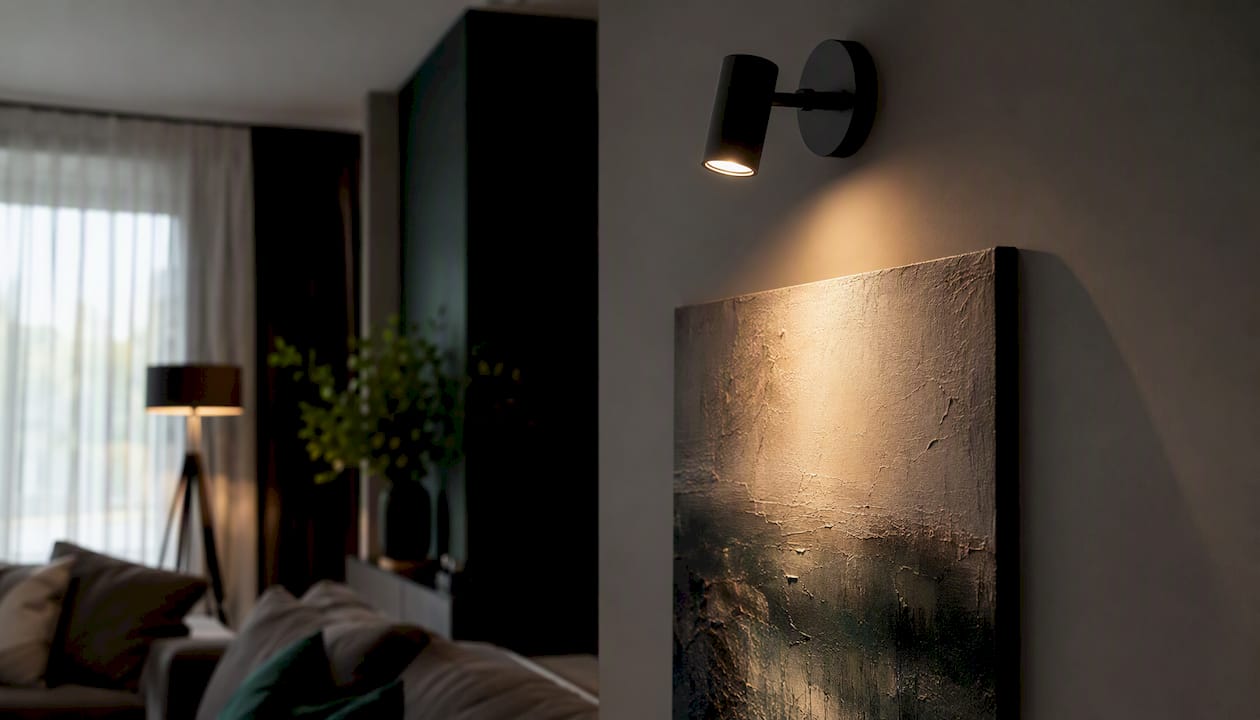
Target 100 to 200 lux ambient, layered with accent lighting on art or shelving. CCT should shift from 3500K during the day to 2700K in the evening if your fixtures are tunable. Scene names: “Day,” “Evening,” “Movie.” A room with low ambient light can still feel bright and finished with the right accent placement. Interior lighting choices for darker rooms, including how wall art and finishes interact with light, are worth a closer look if this describes your space.
Kitchen
This is a high-task room and deserves a higher lux level over task areas for clarity and precision, with a moderate ambient light level for general visibility. CCT of 3500K to 4000K supports food prep and reads clean without feeling clinical. Scene names: “Prep” and “Dine,” the second one dimmer and warmer for evening meals.
Bedroom
Target 100 to 150 lux ambient, dropping to near zero overnight with a very low amber night light if needed. CCT should run warm, 2700K or below, especially in the evening scene, since cooler light late at night works against natural sleep signals. Scene names: “Wind Down” and “Reading,” the latter needing localized task light near 300 lux at the reading surface.
Bathroom
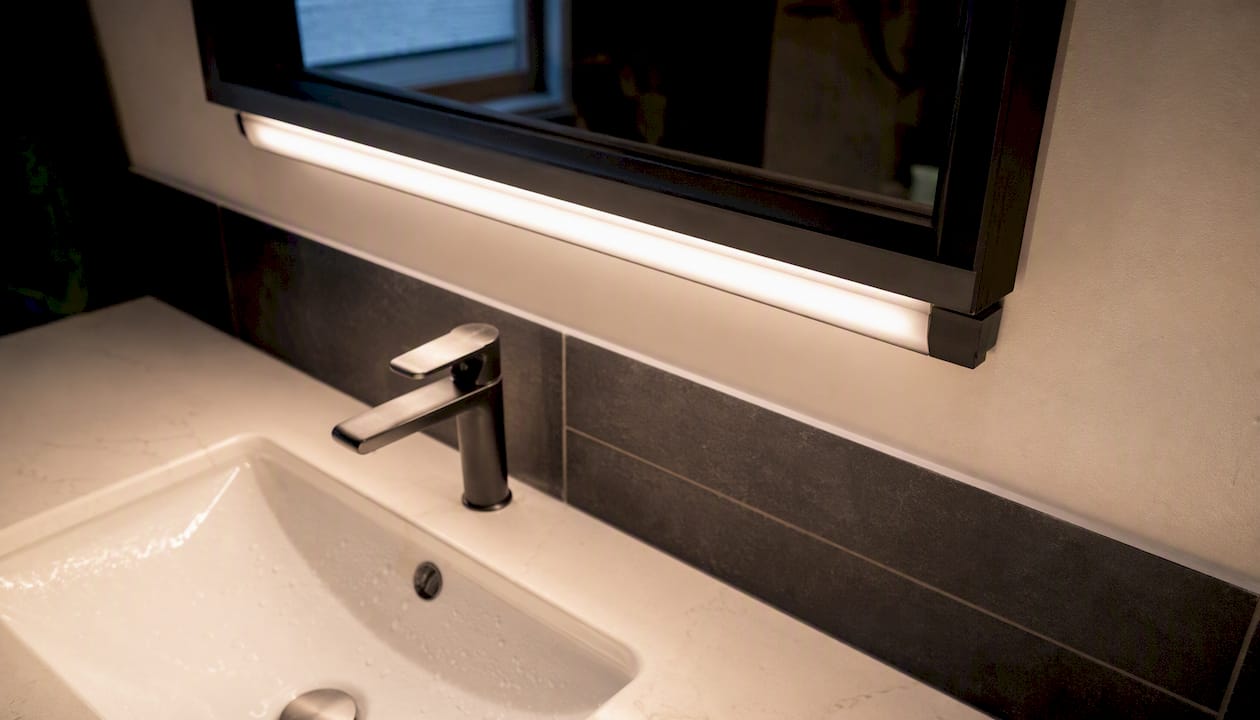
Vanity tasks need 300 to 500 lux with high CRI (90+) so skin tones and makeup read accurately, a detail that matters more than most people realize until they’ve applied makeup under the wrong CCT. A dedicated look at bathroom vanity lighting covers fixture placement and CCT choices in more depth. Scene names: “Grooming” (bright, cool) and “Night” (dim, warm, for late visits).
Outdoor and landscape
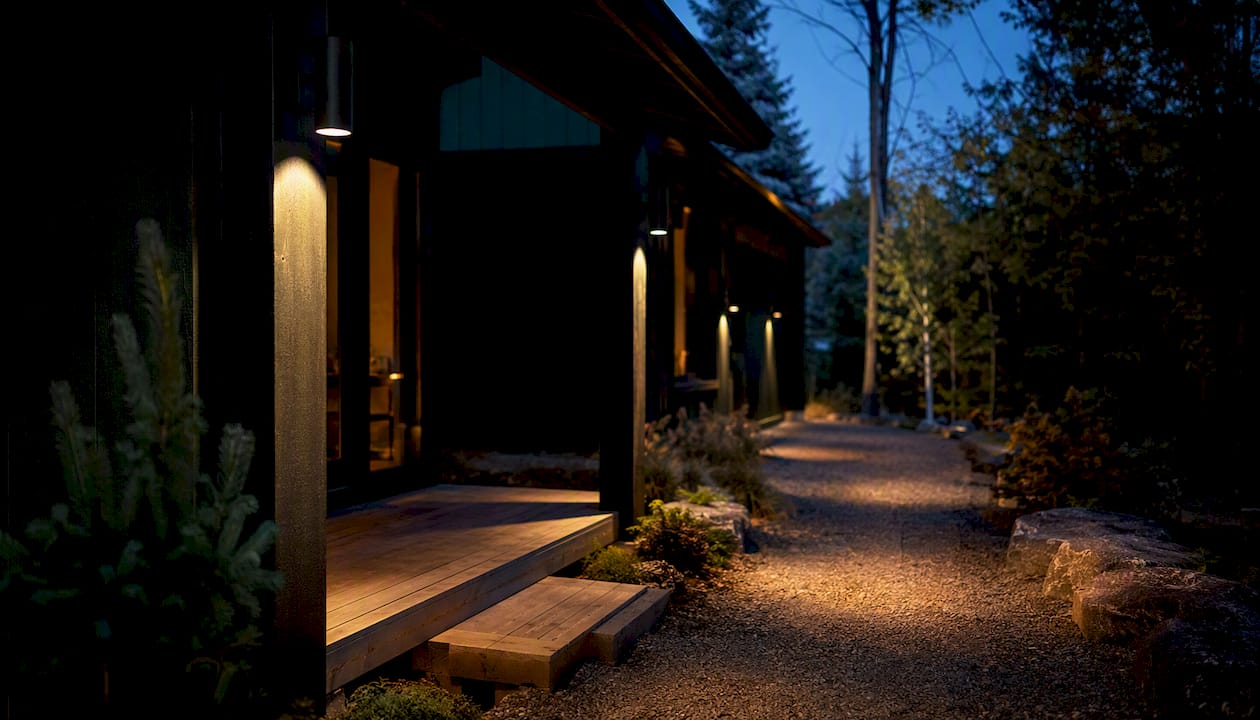
Entry and pathway lighting should trigger on sunset offset, not a fixed clock time, and dim or shut off well after occupants are typically asleep. Fixtures like an outdoor ceiling mount rated for exterior use pair naturally with astronomic timers for this exact reason.
Pro Tip: For any multi-use or open-plan space, spec the schedule around the most demanding task in the room, not the average. A kitchen that opens into a living area needs its own control zone even if the ceiling is continuous, or you’ll end up dimming the whole space every time someone wants a quiet dinner.
Step-by-Step: Building a Fixture Schedule Template
A fixture schedule is the document that turns your room-by-room lighting plan into something an electrician can wire and a procurement team can order against. It works two jobs at once: it’s a technical construction document with loads, circuits, and dimming data, and it’s a design-specification sheet showing finish and lamp appearance for the client. Treat it as only one of those two things and you’ll end up with a mismatch between what got ordered and what the drawings show.
Here’s the column structure that holds up on real projects, based on the format practitioners use for fixture schedule templates:
- Tag or symbol (matches the reflected ceiling plan)
- Description (fixture type, finish)
- Manufacturer and model (optional at concept stage, required before ordering)
- Lamp or light source
- Input watts
- Quantity
- Mounting (ceiling, wall, recessed height)
- CCT and CRI
- Dimming method
- Control zone and scene assignment
- Circuit and panel ID
- Connected load in VA
- Emergency circuit flag (yes or no)
- Notes
Here are sample rows showing how this looks with real fixtures:
A fixture like the Hulton two-light ceiling mount fits neatly into a row like C1, where decorative appearance and dimmable warmth both matter.
Before this schedule leaves your desk, run a few QA checks: confirm every tag on the schedule appears on the reflected ceiling plan and vice versa, verify that connected loads per circuit stay within panel capacity once driver losses are included, and check that every dimming protocol within a single zone actually matches. Copy the table into a spreadsheet and add formula columns that sum connected load per circuit and calculate lighting power density (LPD) automatically. That’s the fastest way to catch a circuit that’s about to be overloaded before it becomes a site problem.
Controls and Circadian-Friendly Scheduling for Canadian Seasons
A working schedule for most Canadian homes breaks into four blocks: Morning (bright, cool, roughly 300 to 500 lux at task areas, 4000K), Day (maintain functional task levels, natural daylight supplementing), Evening (warm and dimmed, 2700K, 100 to 150 lux ambient), and Night (near-dark with low-level path lighting only, a very low light level suitable for night-time navigation).
Three ready-to-use examples:
- Kitchen weekday schedule: Morning scene at 400 lux, 4000K, triggered at a fixed 6:30 AM. Day scene holds ambient at 150 lux. Evening scene shifts to 250 lux, 2700K, starting at sunset offset minus 30 minutes. Night scene drops to a single 10 lux undercabinet strip.
- Entry and exterior schedule: Dusk scene triggers on sunset offset, not a fixed clock time, at 50 lux, 2700K. Night scene dims to 20 percent after a set delay, typically two to three hours past sunset. Dawn scene fades out on sunrise offset.
- Bedroom schedule: Evening scene starts at a fixed 8:00 PM, warm at 2700K and under 100 lux. Night scene goes to zero except an optional 5 lux amber night light. Morning scene ramps to 300 lux, 4000K, over 15 minutes rather than snapping on instantly.
For the actual control hardware, most Canadian residential projects choose from a handful of practical options: sunrise and sunset triggers built into astronomic timers, tunable-white fixtures that shift CCT automatically across the day, dedicated scene controllers tied to a wall keypad or app, and occupancy or daylight sensors that adjust output based on whether anyone’s actually in the room. Consumer smart-lighting platforms have made this more accessible than it used to be. Documentation for systems using time-node based auto-biorhythm lighting shows how tunable devices chain sunrise and sunset triggers together with gradient transitions, which is essentially a consumer-grade version of the same astronomic timing logic used on commercial exterior lighting.
Pro Tip: Always set exterior and circulation lighting to sunrise and sunset offsets rather than a fixed clock time. A fixed 6:00 PM trigger means your porch light turns on in broad daylight every June and stays dark for an hour after sunset every December. An offset tied to actual sunset solves both problems automatically, and it’s a five-minute setting most installers skip.
Document a seasonal acceptance test as part of commissioning: verify that every offset-based scene actually triggers correctly near both the summer and winter solstice conditions, not just on the day of install. And when you commission any scene, measure actual lux at the task surface with a meter rather than trusting the fixture’s rated output. Real-world lux always differs from the spec sheet once ceiling height, wall reflectance, and fixture placement enter the picture.
Where Canadian Codes and Regulations Set Lighting Requirements
Four sources cover almost everything you’ll need to defend a lighting schedule on a Canadian project, and knowing which one governs which claim keeps a spec conversation with an inspector short instead of long.
- Canada Occupational Health and Safety Regulations, Schedule III: sets minimum illumination levels for federally regulated workplaces. This is your floor for commercial and industrial spaces, not a design target for a home.
- NRCan Home Lighting Design Guide: the primary source for residential illuminance recommendations, fixture layering advice, and energy-efficiency notes. A French-language version, the guide poche conception d’éclairage résidentiel, is available for Quebec projects.
- Canadian Guidelines for Outdoor Lighting (CGOL): industry guidance on exterior lighting design, addressing light trespass, glare, and dark-sky considerations that increasingly show up in municipal bylaws.
- CSA Group: the reference point for Canadian product safety and performance standards that fixtures and drivers on your schedule need to meet before they’re specified.
None of these fully override provincial or municipal rules. Provinces and territories often layer their own occupational health and safety regulations on top of the federal baseline, and municipalities frequently set their own exterior lighting curfews or light-trespass bylaws that neither NRCan nor the federal OHS regulations touch. Before finalizing an exterior schedule, check with your municipal building department for lighting curfews or dark-sky bylaws, and check with the provincial OHS office for any workplace project that isn’t federally regulated.
When you write the code reference into a project specification, cite the exact schedule and section rather than a general nod to “OHS regulations,” and note the source and year. If a local inspector or client questions a lux target, having Schedule III or the NRCan guide cited by name and section turns a debate into a two-minute lookup.
Contractor Checklist: Avoiding the Pitfalls That Cause Disputes
A high-quality lighting schedule that explicitly links fixtures to control zones and dimming protocols heads off most of the disputes that turn into change orders. Most field failures trace back to the same handful of gaps, and they’re all catchable before rough-in if someone actually checks for them.
Verify these before fixtures go in the wall:
- Catalog numbers on delivered fixtures match the schedule exactly, not a “close enough” substitute from a supplier.
- Driver family and dimming protocol are documented, not just “dimmable” written on the box.
- Emergency lighting fixtures are flagged clearly and wired to the correct circuit.
- Mounting height and photometric orientation match the reflected ceiling plan.
- Every control zone has a single, consistent dimming protocol across all its fixtures.
Run these acceptance tests before final sign-off:
- Measure actual lux at each scene level with a meter, compared against the schedule’s targets.
- Test the driver and dimmer combination through its full range, checking for flicker or buzz at low output.
- Recall every programmed scene from the controller and confirm it matches the documented lux and CCT.
- Test the emergency lighting circuit independently of normal power.
Statistic Callout: Mismatched dimming hardware is consistently cited as a leading cause of field failures on lighting installs, showing up as flicker, buzzing, or dimmers that won’t reach their full range. Catching a protocol mismatch on paper, before the drywall goes up, costs nothing. Catching it after commissioning usually costs a return trip and an unhappy client.
A few red flags should stop work outright rather than get logged as a punch-list item: mixed dimming protocols within a single control zone, a driver model that was never specified, missing panel or circuit IDs on the schedule, or a fixture count on site that doesn’t match the schedule’s quantities. Any one of these on its own is a fixable oversight. Two or more together usually means the schedule wasn’t finalized before ordering started, which is the root cause behind most lighting change orders.
A Trade Perspective on Building Schedules That Actually Hold Up
The gap between a lighting schedule that looks complete on paper and one that survives a real job site almost always comes down to specificity. Too many schedules list a fixture, a wattage, and a room, and stop there. That’s not a schedule. That’s a shopping list wearing a schedule’s clothing. The version that actually protects a project ties every fixture to a driver model, a dimming protocol, a control zone, and a circuit ID before a single box gets ordered.
Where we push back on how a lot of guides frame this: a lighting schedule isn’t primarily a compliance document, and treating it that way misses the point. Code minimums like Schedule III exist to set a floor for safety, not to define what makes a home feel right. The real value of a well-built schedule is that it forces the design conversation, warmth, layering, seasonal rhythm, to happen on paper before it happens with a return visit and a client standing in a room that doesn’t feel the way they imagined. Contractors and designers who build the schedule as a design document first, and a compliance checklist second, end up with fewer surprises on both fronts.
We work with designers and contractors across Canada who need fixture data fast, accurate spec sheets, and someone who understands why a driver mismatch on paper becomes a service call three months later. That’s the kind of detail a template can’t fully replace, but it’s exactly what a good trade relationship is built on.
Get Trade Support for Your Next Lighting Schedule
Sourcing fixtures that match every column on your schedule, lamp type, CCT, dimming protocol, is where a lot of projects lose time, chasing spec sheets from three different suppliers just to confirm a driver is actually compatible with the dimmer already on the wall. Montreal Lighting & Hardware keeps that process in one place: a catalog of designer fixtures from brands like Savoy House and Maxim with the technical data your schedule actually needs, plus a trade program built for designers and contractors who order regularly.

Our trade desk can help you confirm driver compatibility before you finalize a schedule row, source sample fixtures for client approval, and pull together export-ready fixture data for procurement. Pieces like the Meridian six-light ceiling mount show up often in higher-lux decorative installations where load aggregation across a single tag matters. If you’re ready to put real fixtures against your schedule, visit Montreal Lighting & Hardware to explore trade pricing and get your questions in front of someone who reads spec sheets for a living.
Sources
The following resources back nearly every figure and standard referenced in this guide, split between regulatory sources you cite in a specification and best-practice guidance you use to shape design decisions.
- Canada Occupational Health and Safety Regulations (SOR/86-304) — Schedule III (Section 6.6) Levels of Lighting
- Home Lighting Design Guide Pocket Book — Natural Resources Canada (NRCan)
- Lighting Fixture Schedule: Free Template — Capital Build Con
How often should a lighting schedule be updated? Update it whenever a fixture, dimmer, or control zone changes, and review it fully at each major project milestone, concept, construction documents, and pre-procurement, so the schedule always matches what’s actually being ordered.
What’s the difference between a lighting plan and a lighting schedule? A lighting plan shows fixture placement on a floor or ceiling plan. A lighting schedule is the data table behind it, listing every fixture’s technical specs, load, and control assignment. You need both, and they need to match exactly.
Do grow lights need their own schedule? Yes. Indoor plant lighting depends on consistent photoperiods rather than arbitrary on and off times, with common stage windows around a longer duration range generally recommended for seedlings for seedlings, 14 to 16 hours for vegetative growth, and a typical duration range for flowering houseplants for flowering, according to Iowa State Extension. A timer or smart controller keeps that consistency intact even when nobody’s home to flip a switch.
Can I use the same lighting schedule template for a commercial project? The column structure works for both, but the targets differ. Commercial work needs to reference Canada’s OHS Schedule III for minimum illumination levels, while residential projects lean on NRCan’s design recommendations, which sit well above code minimums for comfort and appearance.
What happens if I skip driver losses in my load calculations? Connected load columns that ignore control-gear losses tend to undersize circuits, which shows up later as a tripped breaker during commissioning rather than a calculation error on paper. Always account for driver losses when totaling VA per circuit.
This guide provides general information on lighting design and Canadian regulatory references. Confirm current code requirements and provincial or municipal variations with a qualified electrical contractor or your local building department before finalizing a project.
