


The fastest fix for an off center light fixture is a swag hook and drape, a long rectangular canopy, or an oversized medallion, all of which recenter the visual without touching wiring. Track or monorail systems work when you need multiple drop points. Moving the junction box becomes the right call only when the offset is large, the chandelier is heavy, or you want a permanent, seamless finish, and that job calls for a licensed electrician.
TL;DR:
- Swag hooks and larger canopies can visually center a fixture without electrical work, supporting weights up to about 85 pounds with proper anchors.
- Fixtures with long or wide canopies, multi-arm designs, or oversized medallions can mask offsets, reducing the need for a permanent box move.
- Moving the junction box is reserved for large offsets over a foot, heavy fixtures, or when a seamless, permanent finish is desired, requiring professional electrical work.
- Proper fixture height over a table is 30 to 36 inches, with longer heights for higher ceilings and accurate centering using a plumb line or laser level.
- Visual and functional issues from off-center fixtures can be corrected with simple no-rewire fixes, but structural adjustments should be left to licensed electricians for larger offsets.
Table of Contents
- What Causes an Off Center Light Fixture, and Can You Fix It Yourself?
- No‑Rewire Quick Fixes: Swag Hooks, Anchors, and a Graceful Drape
- Which Fixture Styles Naturally Hide an Off Center Ceiling Box?
- When Should You Move the Junction Box Instead?
- Tools, Anchors, and a Safety Checklist Before You Hang Anything
- How High and Where Exactly Should the Fixture Hang?
- Why Does My New Light Fixture Still Look Crooked or Uneven?
- Why Trust Montreal Lighting & Hardware on Fixture Placement?
- Does an Off Center Fixture Actually Change Your Light Quality?
- Our Take: Center the Look, Not the Box
- Shop Fixtures Built to Handle an Off Center Ceiling Box
- Sources
What Causes an Off Center Light Fixture, and Can You Fix It Yourself?
Most ceiling boxes were never installed with a dining table in mind. Builders typically center the junction box on the room’s geometric footprint, not on where the furniture would eventually land. Add a kitchen remodel, a moved wall, or a table that’s slightly offset from the room, and you end up staring up at a chandelier that hangs a foot from where it should.
The good news: you rarely need to touch the wiring to fix it. A swag hook, a bigger canopy, or a smarter fixture choice can shift the visual center several inches to a foot in either direction. Only when the gap is severe, or the fixture is heavy enough to demand structural support, does moving the box become worth the drywall repair.
No‑Rewire Quick Fixes: Swag Hooks, Anchors, and a Graceful Drape
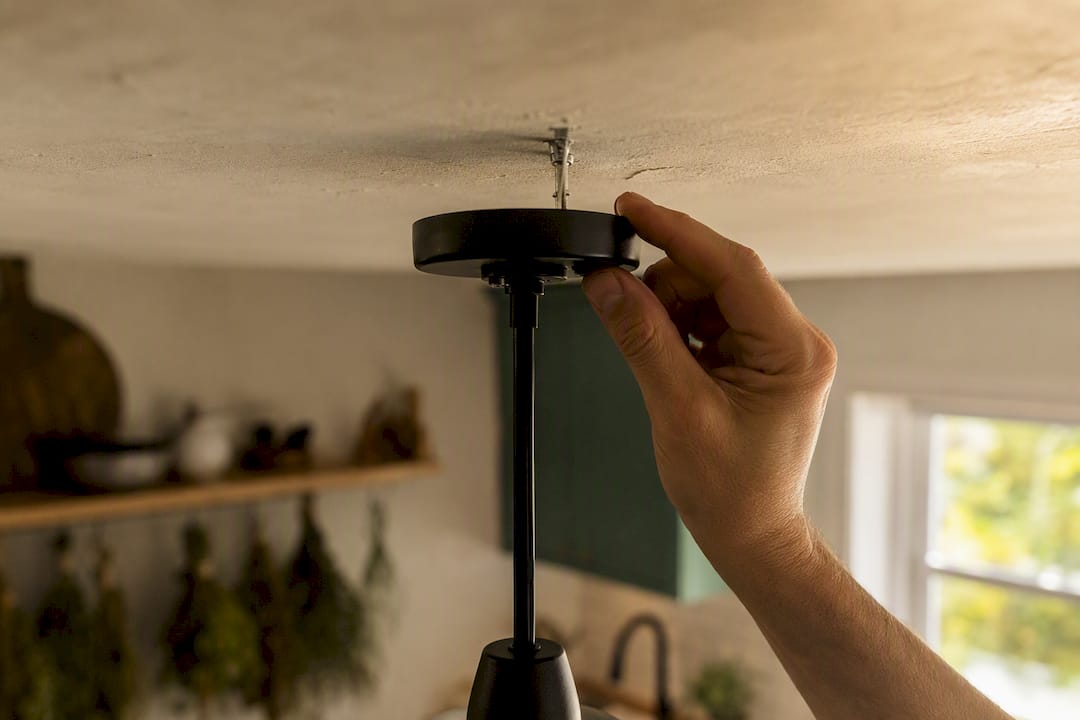
A swag hook lets you hang the fixture from a new point on the ceiling while the cord or chain drapes back to the original electrical box. It’s the go‑to trick for renters and for anyone who wants a same‑day fix.
Start by matching your anchor to the fixture’s weight. A rated toggle bolt for drywall can support loads up into the 55 to 85 pound range depending on the anchor, but anything heavier, or any fixture with a lot of swinging mass, belongs on a joist screw instead.
- Find your new center point over the table and mark it with a pencil.
- Locate the nearest joist with a stud finder; if the mark lands between joists, use a toggle bolt rated above your fixture’s weight.
- Drill a pilot hole and install the hook, threading it fully into the joist or toggle anchor.
- Hang the fixture, then drape the cord or chain back to the original box, tucking excess length into a cord grip so the canopy isn’t bearing weight it wasn’t built for.
- Cover the drape with a matching cord cover or braided sleeve if you want it to disappear rather than read as a design feature.
Skipping the cord grip can cause tension on canopy screws, potentially cracking the mounting plate or pulling the fixture crooked over time.
Pro Tip: After hanging the fixture, give it a firm wiggle test and check the anchor again in a week. Drywall anchors settle slightly under load, and catching that early beats catching it after the fixture has shifted an inch.
Which Fixture Styles Naturally Hide an Off Center Ceiling Box?
Some fixtures are built to mask an offset rather than fight it. Choosing the right shape does half the work a swag hook would otherwise have to do.
- Linear or rectangular canopies stretch 24 inches or longer, letting the light hang over the table centerline even when the box sits a few inches to a foot away, a detail confirmed by designer guides on chandelier placement.
- Multi‑arm or spider pendants spread their light sources outward from a single offset point, so the eye reads the whole spread as centered even though the mounting point isn’t.
- Oversized medallions, typically 18 to 24 inches or larger, reset the ceiling’s visual center by drawing the eye to the decorative ring instead of the mounting plate.
- Track or monorail systems treat the junction box as nothing more than a power source, letting you run a rail directly over the table with pendants that slide to the exact spot you need.
A pendant like the Sonneman Thin‑Line LED Pendant shows how a sculptural silhouette can carry an intentional asymmetry instead of hiding one.
When Should You Move the Junction Box Instead?
Moving the box makes sense when the offset is more than about a foot, when you’re hanging a heavy chandelier that shouldn’t rely on a swag hook, or when you simply want a clean, permanent finish with no drape at all. It’s a structural job, not a weekend patch.
- Cut power at the breaker and confirm the circuit is dead before opening anything.
- Locate the nearest joist to your new center point using a stud finder or by checking the attic.
- Cut the drywall opening and run new cable to the target location, fishing it through the joist bay.
- Mount an old‑work box or a pancake box if the new center lands directly on a joist, using internal bracing rated for the fixture’s weight.
- Patch and repaint the old opening, then cap it with a blank cover plate before finishing.
Expect a half day to a full day of work, plus drywall patching that needs to cure before painting. Because this involves running new cable and cutting into a ceiling, many jurisdictions require a permit, and this is squarely a licensed electrician’s job unless you’re genuinely comfortable with structural and electrical work.
Tools, Anchors, and a Safety Checklist Before You Hang Anything
Weight is the number that decides everything else. A fixture under 10 pounds can usually ride on a properly rated drywall toggle, but anything heavier, and certainly any multi‑arm chandelier, should land on a joist.
- Match your anchor rating to fixture weight with room to spare, never right at the limit.
- Prefer joist mounting whenever the fixture has any real mass or swing.
- Use manufacturer‑rated toggle bolts for drywall, not generic picture hooks.
- Cut power at the breaker and test the circuit with a voltage tester before touching wires.
- Wear eye protection when drilling overhead, and clear the area below your work.
Manufacturer and installer guidance consistently points to one number: heavy‑duty toggle anchors top out around 85 pounds, and that’s a ceiling, not a target to design around.
How High and Where Exactly Should the Fixture Hang?
Center the fixture over your table, not over the room. Designers consistently favor visual balance with the furniture below over strict geometric center, since a chandelier centered on an empty stretch of floor looks wrong even if it’s technically correct.
- Measure the table’s length and width, then mark the exact centerline with tape or a pencil dot.
- Hang the fixture 30 to 36 inches above the tabletop for standard 8-foot ceilings.
- Add roughly 3 inches of height for every additional foot of ceiling above 8 feet.
- Use a plumb line or a laser level dropped from your ceiling mark to confirm the fixture lands dead center over the table, not just close.
Vaulted ceilings need extra care since sightlines shift depending on where you’re standing in the room.
Why Does My New Light Fixture Still Look Crooked or Uneven?
A fixture that looks off after installation is usually a mechanical problem, not a placement one. Chain links develop memory from packaging and can hang with a slight twist. Kinked wire inside the stem pulls a canopy off level. And a canopy that isn’t fully seated against the ceiling will visibly tilt even when everything else is correct.
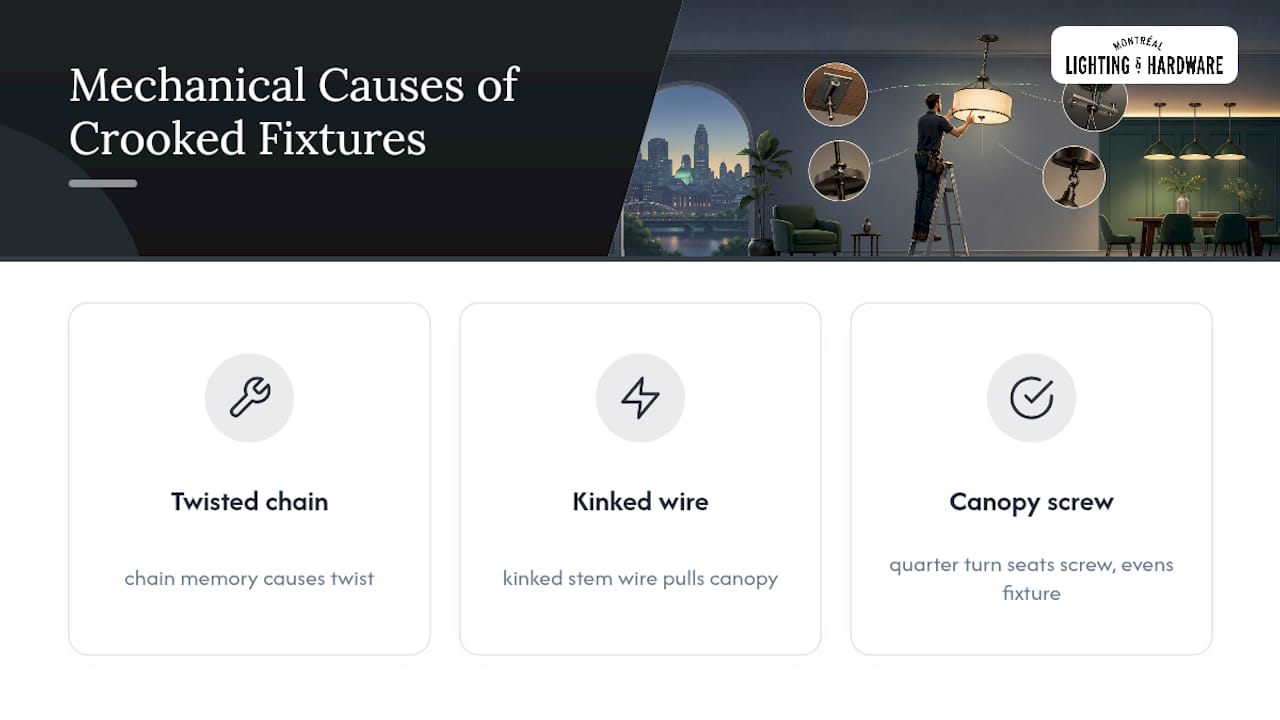
Start by loosening the canopy screws and reseating the plate flush against the ceiling, then retighten evenly. For multi‑arm fixtures, check each arm’s set screw individually. One loose arm throws off the whole spread even when the central mount is dead level.
Not every asymmetry is a mistake, either. Sculptural and organic fixture designs are increasingly built to read intentionally off‑center, and forcing one into perfect symmetry can undercut the design.
Pro Tip: If a multi‑arm fixture still looks tilted after leveling each arm, check that the fixture is hanging from a fully seated canopy screw. A quarter turn can be the difference between crooked and centered.
Why Trust Montreal Lighting & Hardware on Fixture Placement?
Montreal Lighting & Hardware stocks designer lines like Savoy House and Maxim alongside Sonneman’s architectural pendant collections, and our showroom team fields fixture placement questions daily. When an offset calls for heavier‑duty hanging hardware or a fixture built to mask a mounting point, we can point you to the right canopy width or arm spread before you buy.
Does an Off Center Fixture Actually Change Your Light Quality?
An off center fixture doesn’t just look wrong, it changes how the room functions. A pendant hung a foot off the table centerline throws its brightest pool of light onto one side of the table, leaving the opposite side dimmer and forcing anyone seated there to squint over a plate that’s noticeably less lit than their neighbor’s.
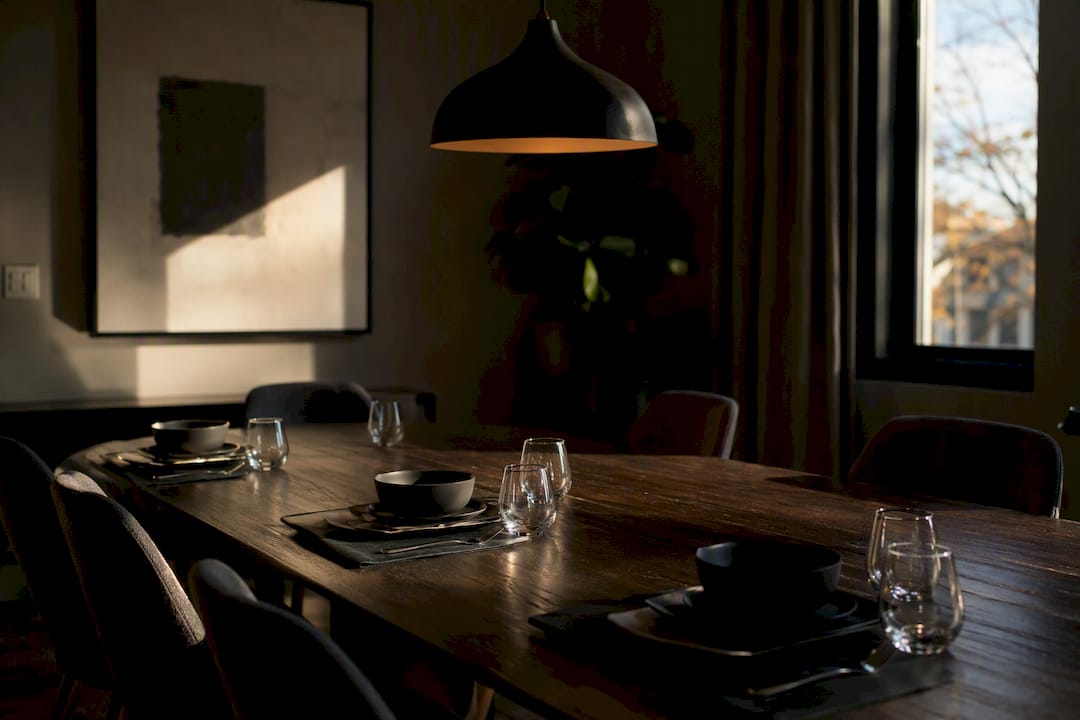
Task lighting is directional by design, which is exactly why the offset matters more over a dining table than it would over open floor. Ambient light in the rest of the room fills in some of the gap, but any fixture built to focus light downward, a drum shade, a linear bar, a cluster of small shades, loses that focus the moment it’s not actually above what it’s lighting.
There’s a mood cost too. A chandelier that visibly leans toward one side of a table reads as unfinished, even in a room that’s otherwise carefully decorated. Guests notice asymmetry in overhead lighting faster than almost any other design element in a room, because the eye naturally checks whether a light source lines up with what it’s illuminating. Fixing the offset, whether through a swag hook, a wider canopy, or a permanent box move, resolves both problems at once: even light across the surface, and a ceiling that finally looks intentional.
Our Take: Center the Look, Not the Box
The advice that circulates most often, “just move the junction box,” treats every offset like a structural emergency. It isn’t. Most of the fixture placement complaints we hear at Montreal Lighting & Hardware resolve with a swag hook, a wider canopy, or a fixture chosen specifically because its shape absorbs an offset gracefully.
Where conventional advice falls short is in treating symmetry as the only goal. A well‑chosen asymmetrical or sculptural pendant, the kind designed to read as intentional rather than corrected, often looks better than a forced center point ever would. That’s a design decision, not a compromise.
Our advice: measure your table centerline first, try the no‑rewire fixes before scheduling an electrician, and choose a fixture shape that works with your ceiling box rather than against it. Save the permanent box move for genuinely large offsets or fixtures too heavy for a hook. Everything else is a Saturday afternoon project, not a renovation.
— Montreal Lighting & Hardware
Shop Fixtures Built to Handle an Off Center Ceiling Box
Montreal Lighting & Hardware carries fixture shapes built specifically for situations like this, wide canopies, sculptural silhouettes, and pendants that read as centered even when the mounting point isn’t. That’s the practical edge over guessing with a generic hardware‑store fixture and hoping it hangs right.

The Sonneman Light Guide Ring LED Pendant works well over a dining table where a single strong focal point needs to sit dead center regardless of what’s happening above the ceiling tile. If you want a slimmer profile with more dramatic shadow lines, the Sonneman Stiletto LED Pendant gives you that sculptural quality that reads as intentional rather than corrected. For a look with texture and movement, the Sonneman Counterpoint LED Pendant mixes materials in a way that draws the eye without demanding perfect symmetry underneath it.
Not sure which shape or canopy width solves your specific offset? Book a showroom appointment or call our team, and we’ll walk through your ceiling layout and table dimensions before you buy anything. Visit Montreal Lighting & Hardware to browse the full pendant collection or request design help.
Sources
- 5 No‑Rewire Ways to Center a Dining Chandelier Off‑Center
- Fix a Light Fixture Not Centered Over Table 5 Easy Ways
- How to Center an Off‑Center Ceiling Light Fixture
